一、安装Oracle 11G前环境搭建
本次实验是基于Linux(CentOS6.7_64)下搭建oracle 11g环境,这里选择CentOS安装oracle并不是最佳选择,可以根据需要选择不同的Linux发行版,如Oracle Linux、SuSE Linux、Red Hat、IBM AIX等。
VM或物理机的配置要求:
在实验环境安装oracle11g最少需要2G内存、2个cpu、2G交换分区、磁盘空间不低于20G。
生产环境中,要保证oracle的性能,建议最低配置为8G内存、4个cpu、8G交换分区,如果生产环境比较繁忙,则需要更高的配置。
二、安装Oracle 11G前准备工作
上传oracle11g安装包,解压
linux.x64_11gR2_database_1of2.zip
linux.x64_11gR2_database_2of2.zip
配置/etc/hosts文件,添加ip与主机名的解析
|
1
2
3
4
5
|
127.0.0.1 localhost localhost.localdomain localhost4 localhost4.localdomain4
::1 localhost localhost.localdomain localhost6 localhost6.localdomain6
#eth0
10.11.12.88 hm
|
创建oracle相关用户和组
|
1
2
3
4
5
|
[root@hm ~]
# groupadd dba
[root@hm ~]
# groupadd oinstall
[root@hm ~]
# useradd -g oinstall -G dba -m oracle
[root@hm ~]
# id oracle
uid=500(oracle) gid=501(oinstall)
groups
=501(oinstall),500(dba)
|
创建oracle软件安装目录
|
1
2
3
4
5
|
[root@hm ~]
# mkdir /u01/app/oracle -p
[root@hm ~]
# chown -R oracle. /u01/
[root@hm ~]
# chmod 775 -R /u01/
[root@hm ~]
# ls -ld /u01/
drwxr-xr-x. 3 oracle oinstall 4096 Oct 14 22:58
/u01/
|
oracle用户环境变量设置,su进入oracle用户下,修改~/.bash_profile文件,添加以下内容
|
1
2
3
4
5
6
7
8
9
10
11
12
13
14
15
16
17
|
export
TMP=
/tmp
export
TMPDIR=$TMP
export
ORACLE_TERM=xterm
export
ORACLE_BASE=
/u01/app/oracle
export
ORACLE_HOME=$ORACLE_BASE
/db
export
ORACLE_SID=orcl
export
PATH=$ORACLE_HOME
/bin
:$PATH
export
LD_LIBRARY_PATH=$ORACLE_HOME
/lib
:
/usr/lib
:
/usr/lib64
if
[ $USER =
"oracle"
];
then
if
[ $SHELL =
"/bin/ksh"
];
then
ulimit
-p 16384
ulimit
-n 65536
else
ulimit
-u 16384 -n 65536
fi
fi
|
修改内核参数,打开/etc/sysctl.conf文件,添加以下参数,并修改/etc/security/limits.conf文件
|
1
2
3
4
5
6
7
8
9
10
11
12
13
14
15
16
17
18
19
20
21
22
23
24
25
26
27
28
29
30
31
32
33
34
35
36
37
38
39
40
41
42
|
kernel.shmmax = 68719476736
kernel.shmall = 4294967296
net.core.rmem_default = 262144
net.core.rmem_max = 4194304
net.core.wmem_default = 262144
net.core.wmem_max = 1048576
fs.aio-max-nr = 1048576
net.ipv4.ip_local_port_range = 9000 65500
fs.
file
-max = 6815744
kernel.sem = 250 32000 100 128
kernel.shmmni = 4096
[root@hm ~]
# sysctl -p
net.ipv4.ip_forward = 0
net.ipv4.conf.default.rp_filter = 1
net.ipv4.conf.default.accept_source_route = 0
kernel.sysrq = 0
kernel.core_uses_pid = 1
net.ipv4.tcp_syncookies = 1
kernel.msgmnb = 65536
kernel.msgmax = 65536
kernel.shmmax = 68719476736
kernel.shmall = 4294967296
kernel.shmmax = 68719476736
kernel.shmall = 4294967296
net.core.rmem_default = 262144
net.core.rmem_max = 4194304
net.core.wmem_default = 262144
net.core.wmem_max = 1048576
fs.aio-max-nr = 1048576
net.ipv4.ip_local_port_range = 9000 65500
fs.
file
-max = 6815744
kernel.sem = 250 32000 100 128
kernel.shmmni = 4096
在
/etc/security/limits
.conf文件末尾添加如下内容
oracle soft nproc 2047
oracle hard nproc 16384
oracle soft nofile 4096
oracle hard nofile 65536
并同时修改
/etc/pam
.d
/login
文件,添加以下内容
session required pam_limits.so
|
安装oracle依赖的软件包
| [root@hm ~]# yum install gcc gcc-c++ libaio glibc compat-libstdc++-33 elfutils-libelf-devel libaio-devel libgcc libstdc++ libstdc++-devel unixODBC unixODBC-devel glibc-common ksh make sysstat pdksh [root@hm ~]# yum install glibc-2.12-1.192.el6.i686 检查是否安装 [root@hm ~]# for i in gcc gcc-c++ libaio glibc compat-libstdc++-33 elfutils-libelf-devel libaio-devel libgcc libstdc++ libstdc++-devel unixODBC unixODBC-devel glibc-common ksh make sysstat pdksh;do rpm -q $i;done |
三、安装oracle11g软件
解压oracle11g软件包
[root@hm oracle]# unzip linux.x64_11gR2_database_1of2.zip
[root@hm oracle]# unzip linux.x64_11gR2_database_2of2.zip
|
1
2
3
4
5
6
7
8
9
10
11
|
[root@hm oracle]
# chown -R oracle. database/
[root@hm oracle]
# ls -l database/
total 36
drwxr-xr-x. 12 oracle oinstall 4096 Aug 17 2009 doc
drwxr-xr-x. 4 oracle oinstall 4096 Aug 15 2009
install
drwxrwxr-x. 2 oracle oinstall 4096 Aug 15 2009 response
drwxr-xr-x. 2 oracle oinstall 4096 Aug 15 2009 rpm
-rwxr-xr-x. 1 oracle oinstall 3226 Aug 15 2009 runInstaller
drwxrwxr-x. 2 oracle oinstall 4096 Aug 15 2009 sshsetup
drwxr-xr-x. 14 oracle oinstall 4096 Aug 15 2009 stage
-rw-r--r--. 1 oracle oinstall 5402 Aug 18 2009 welcome.html
|
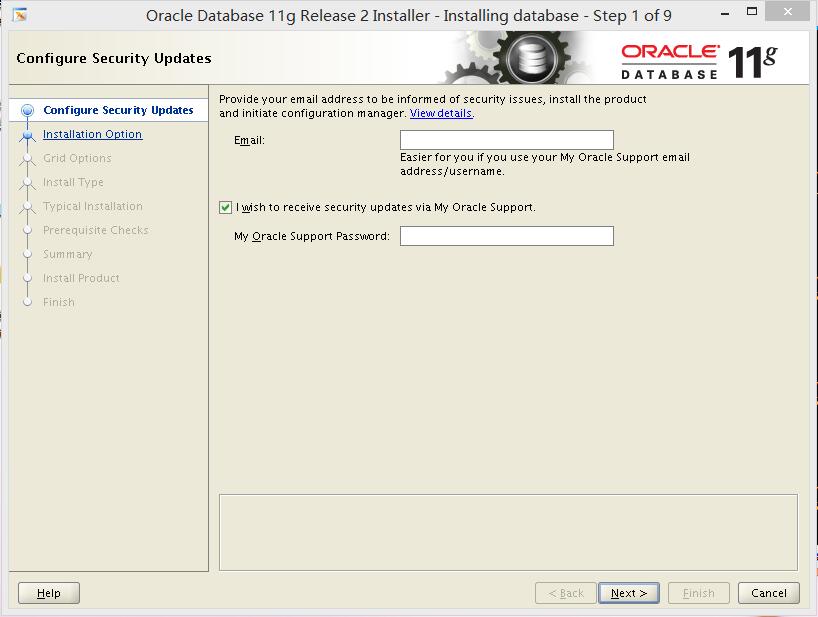
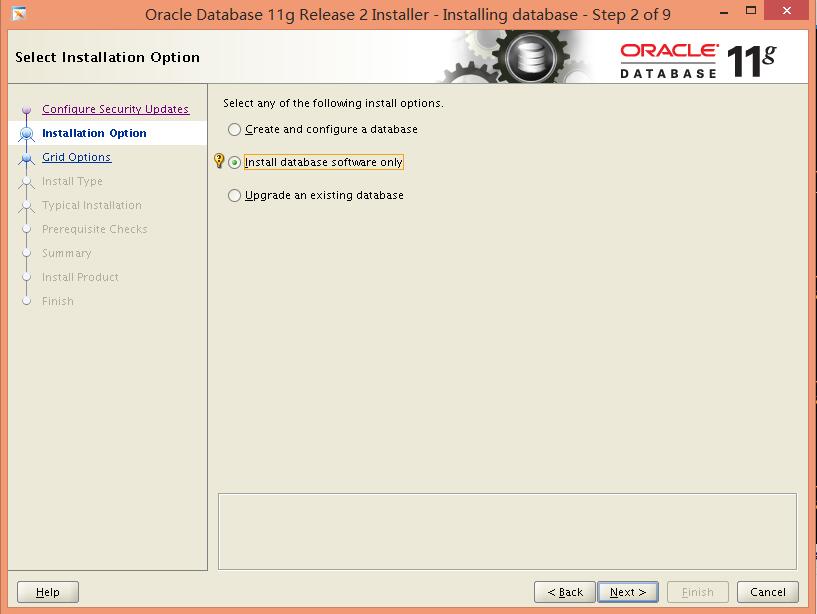
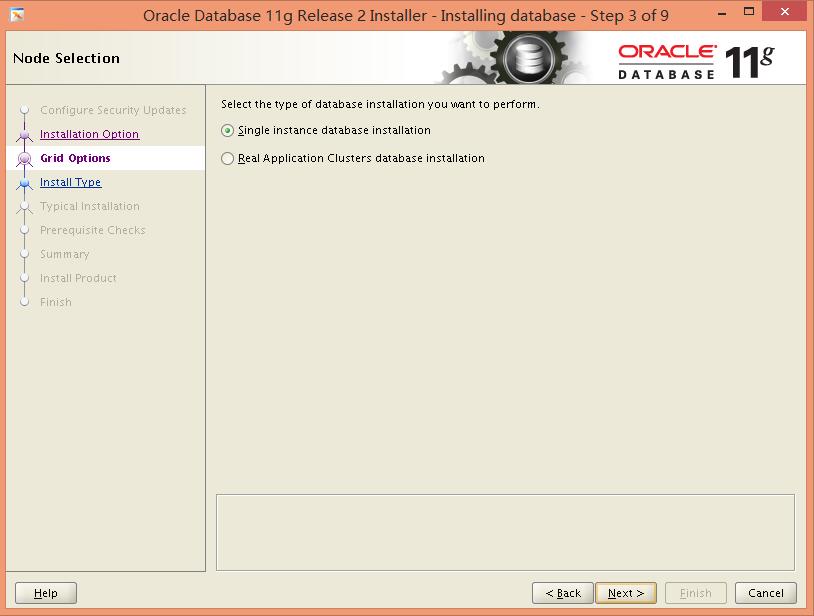
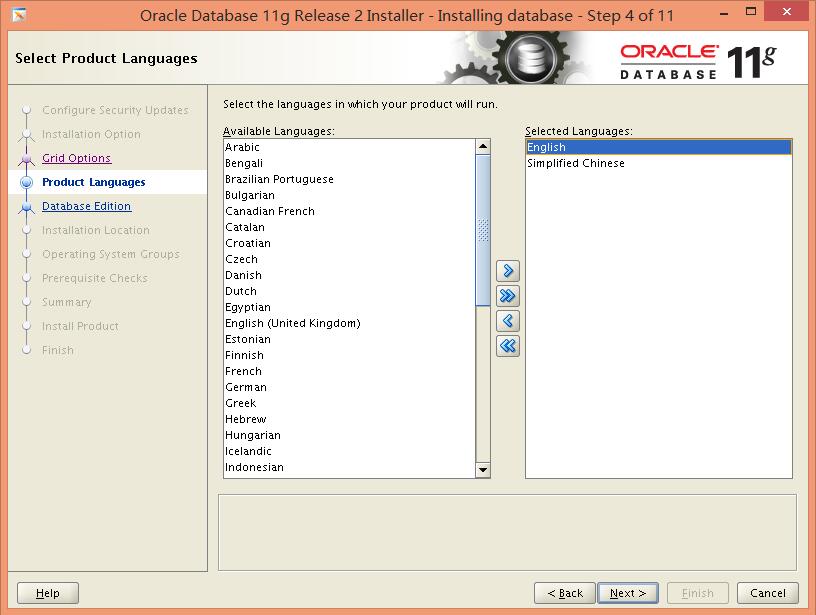
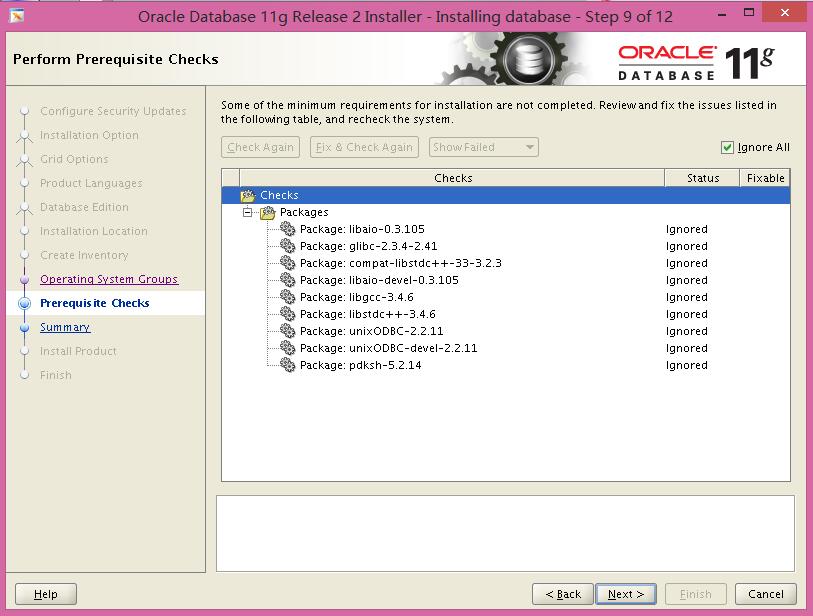
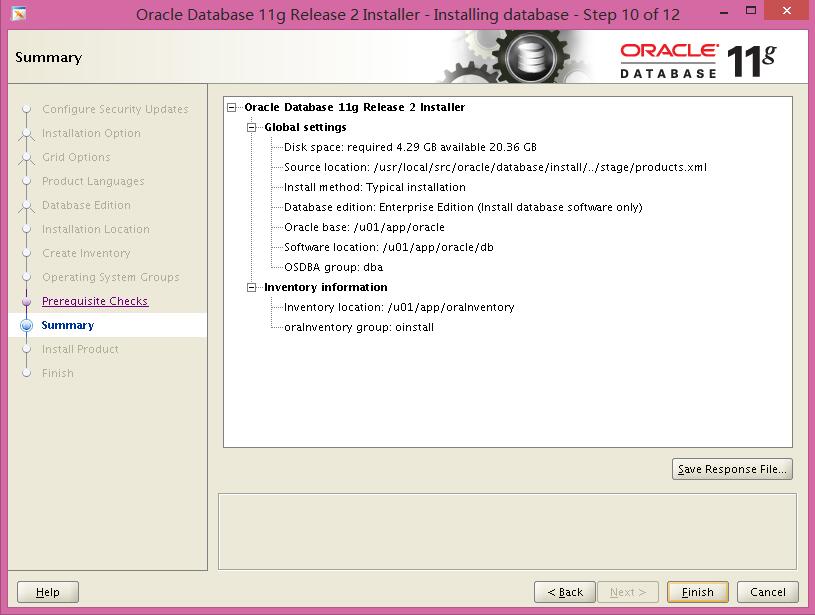
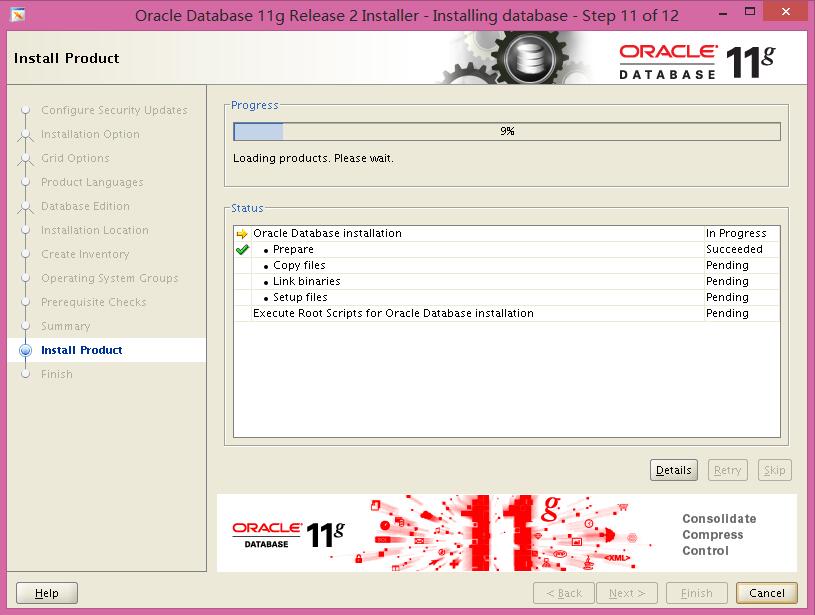
以orcle用户登录图形界面安装oracle,也可以使用vnc远程安装。这里直接用Xshell远程调用linux图形界面进行安装
|
1
2
3
|
[root@hm ~]
# su - oracle
[oracle@hm ~]$
export
DISPLAY=10.11.12.1:0.0
[oracle@hm ~]$ xhost +
|
进入database目录,执行runInstalle
|
1
2
3
4
5
6
7
8
|
[oracle@hm ~]$
cd
/usr/local/src/oracle/database/
[oracle@hm database]$ .
/runInstaller
Starting Oracle Universal Installer...
Checking Temp space: must be greater than 120 MB. Actual 21645 MB Passed
Checking swap space: must be greater than 150 MB. Actual 4095 MB Passed
Checking monitor: must be configured to display at least 256 colors. Actual 16777216 Passed
Preparing to launch Oracle Universal Installer from
/tmp/OraInstall2016-10-15_12-48-55PM
. Please wait ...
|
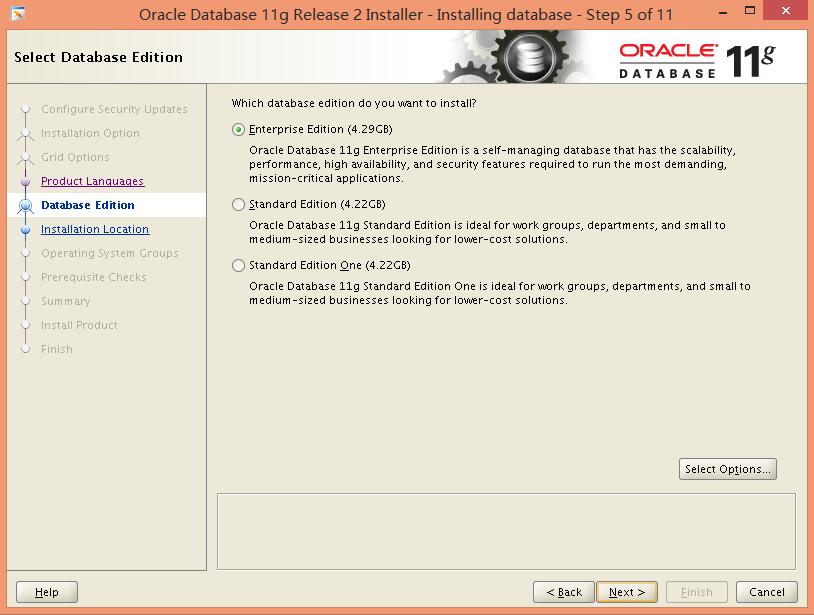
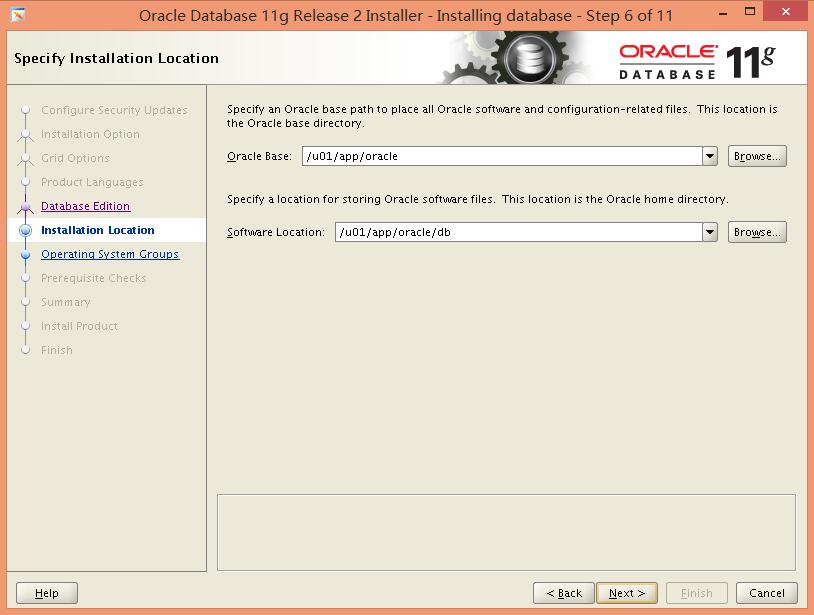
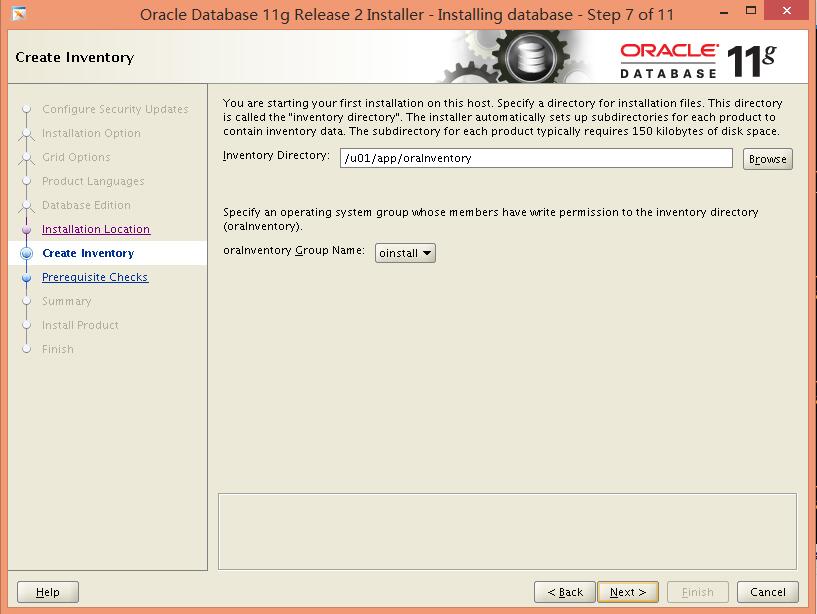
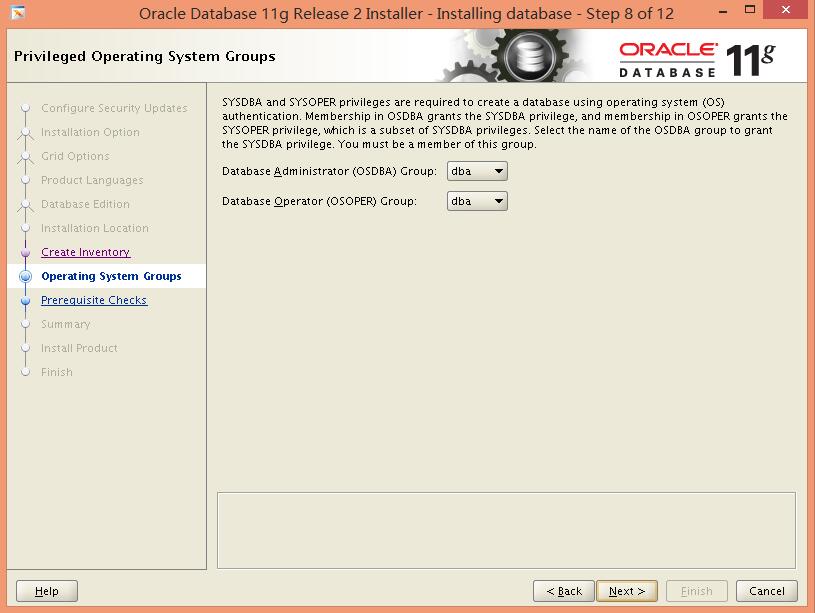
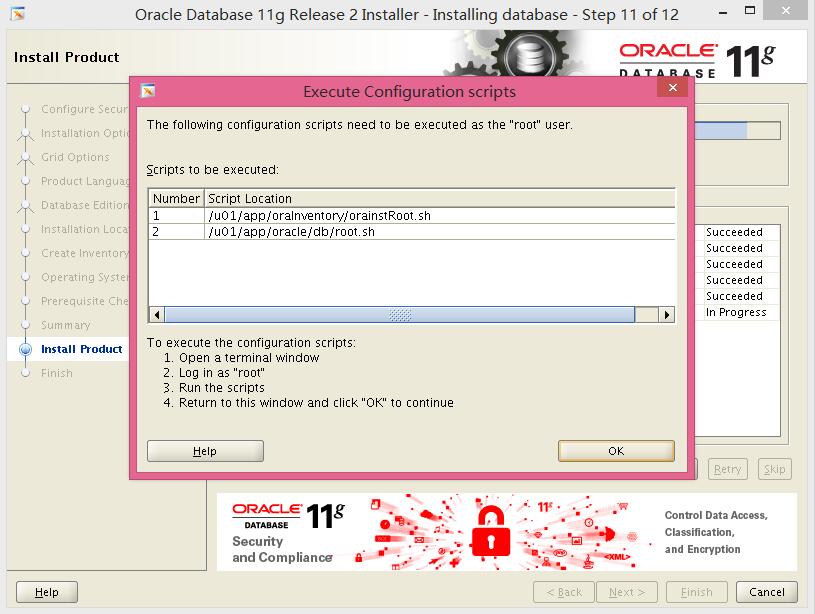
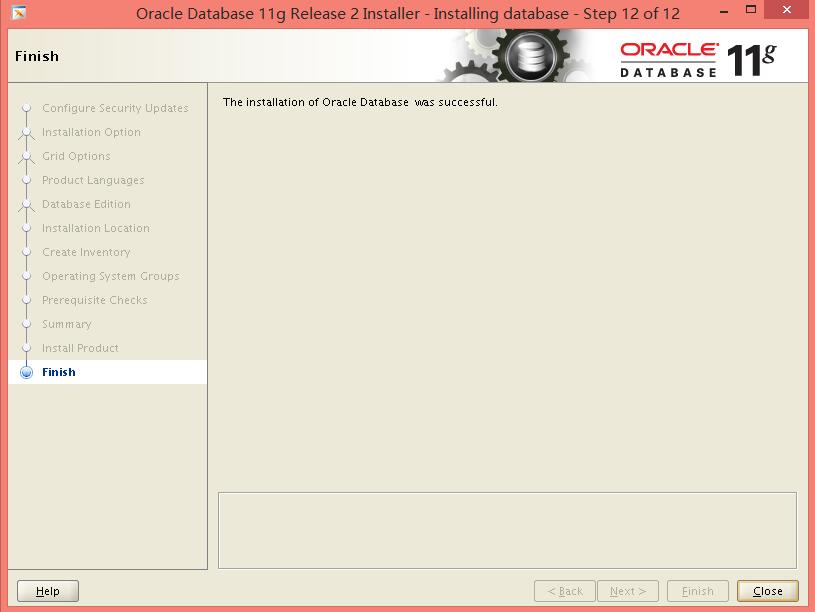
进入图形界面安装
|
1
2
3
4
5
6
7
8
9
10
11
12
13
14
15
16
17
18
19
20
21
22
23
24
25
26
27
|
[root@hm ~]
# /u01/app/oraInventory/orainstRoot.sh
Changing permissions of
/u01/app/oraInventory
.
Adding
read
,write permissions
for
group.
Removing
read
,write,execute permissions
for
world.
Changing groupname of
/u01/app/oraInventory
to oinstall.
The execution of the script is complete.
[root@hm ~]
# /u01/app/oracle/db/root.sh
Running Oracle 11g root.sh script...
The following environment variables are
set
as:
ORACLE_OWNER= oracle
ORACLE_HOME=
/u01/app/oracle/db
Enter the full pathname of the
local
bin directory: [
/usr/local/bin
]:
Copying dbhome to
/usr/local/bin
...
Copying oraenv to
/usr/local/bin
...
Copying coraenv to
/usr/local/bin
...
Creating
/etc/oratab
file
...
Entries will be added to the
/etc/oratab
file
as needed by
Database Configuration Assistant when a database is created
Finished running generic part of root.sh script.
Now product-specific root actions will be performed.
Finished product-specific root actions.
|
启动监听
|
1
2
3
4
5
6
7
8
9
10
11
12
13
14
15
16
17
18
19
20
21
22
23
24
25
26
27
|
[oracle@hm ~]$ lsnrctl start
LSNRCTL
for
Linux: Version 11.2.0.1.0 - Production on 15-OCT-2016 23:30:07
Copyright (c) 1991, 2009, Oracle. All rights reserved.
Starting
/u01/app/oracle/db/bin/tnslsnr
: please wait...
TNSLSNR
for
Linux: Version 11.2.0.1.0 - Production
Log messages written to
/u01/app/oracle/diag/tnslsnr/hm/listener/alert/log
.xml
Listening on: (DESCRIPTION=(ADDRESS=(PROTOCOL=tcp)(HOST=hm)(PORT=1521)))
Connecting to (ADDRESS=(PROTOCOL=tcp)(HOST=)(PORT=1521))
STATUS of the LISTENER
------------------------
Alias LISTENER
Version TNSLSNR
for
Linux: Version 11.2.0.1.0 - Production
Start Date 15-OCT-2016 23:30:09
Uptime 0 days 0 hr. 0 min. 1 sec
Trace Level off
Security ON: Local OS Authentication
SNMP OFF
Listener Log File
/u01/app/oracle/diag/tnslsnr/hm/listener/alert/log
.xml
Listening Endpoints Summary...
(DESCRIPTION=(ADDRESS=(PROTOCOL=tcp)(HOST=hm)(PORT=1521)))
The listener supports no services
The
command
completed successfully
|
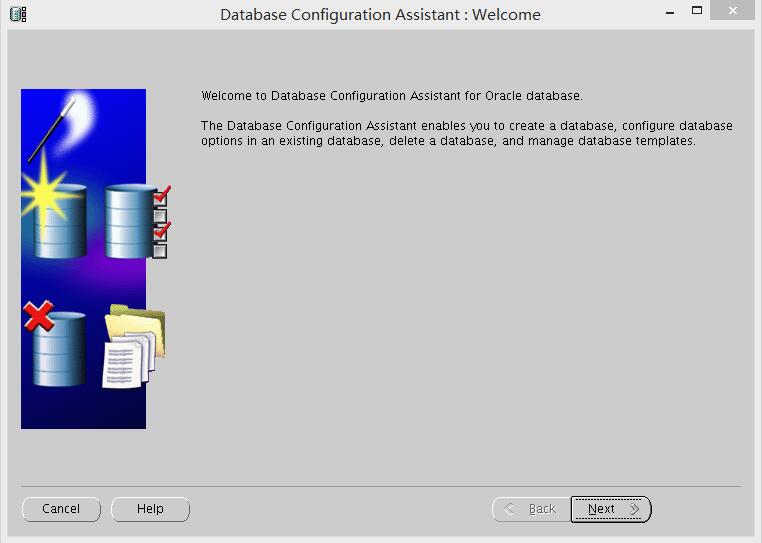
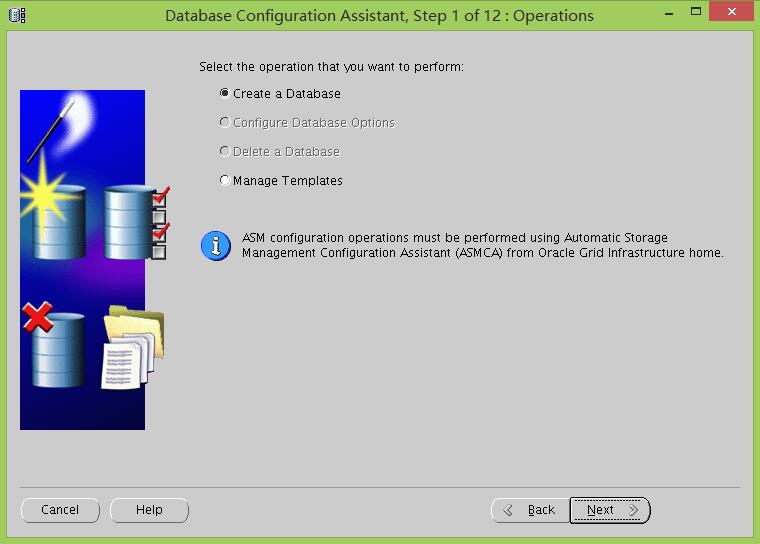
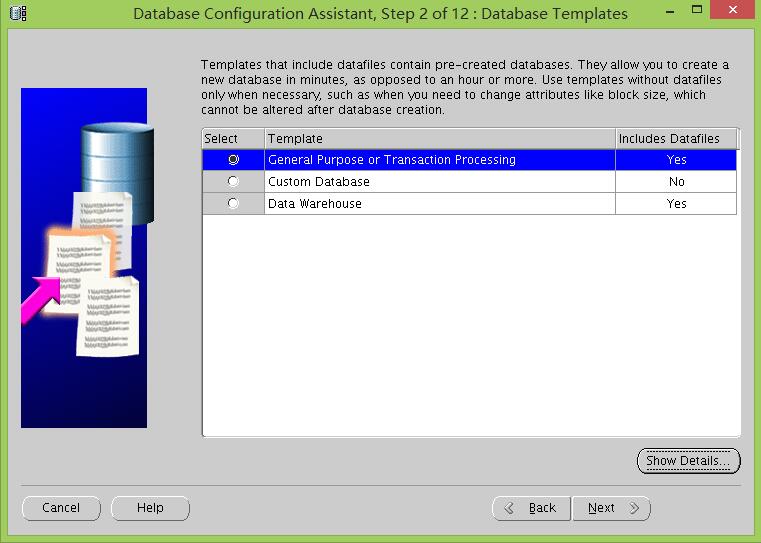
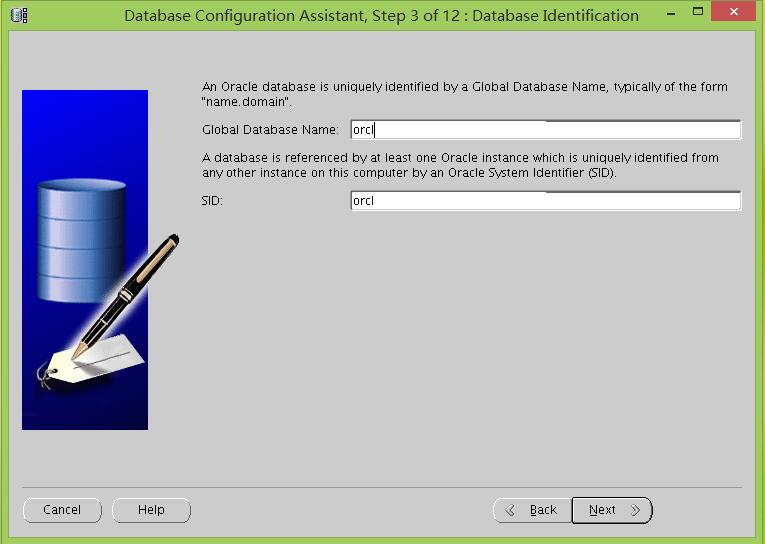
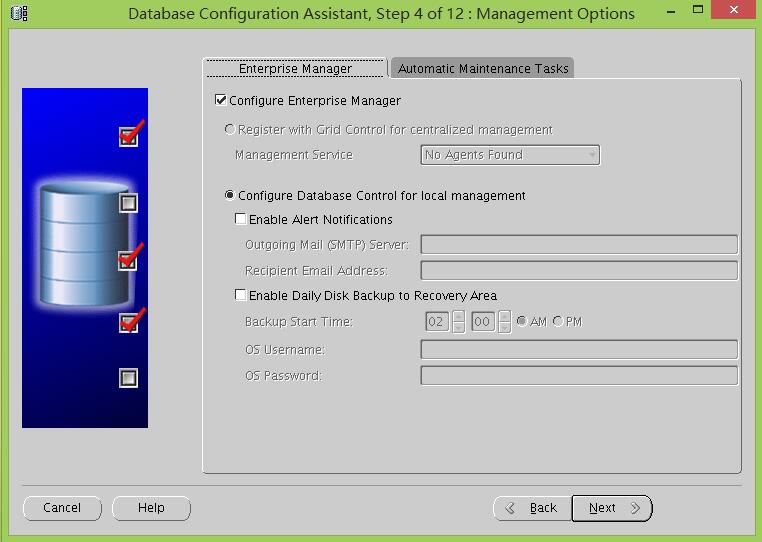
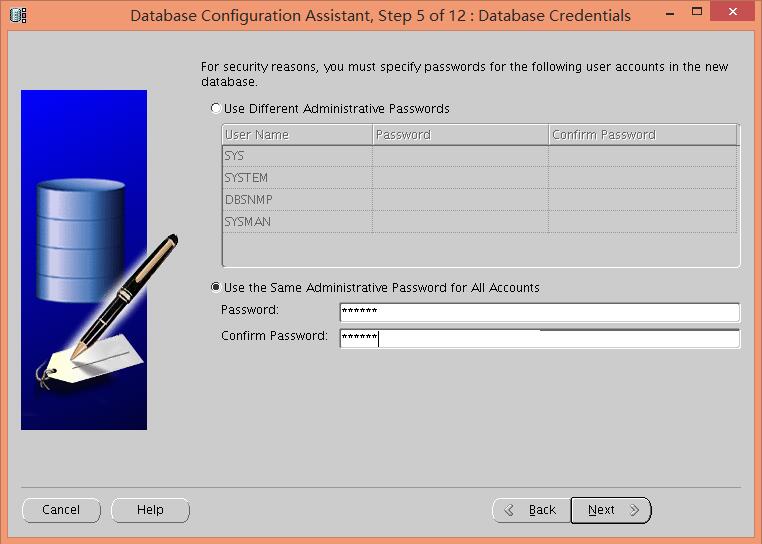
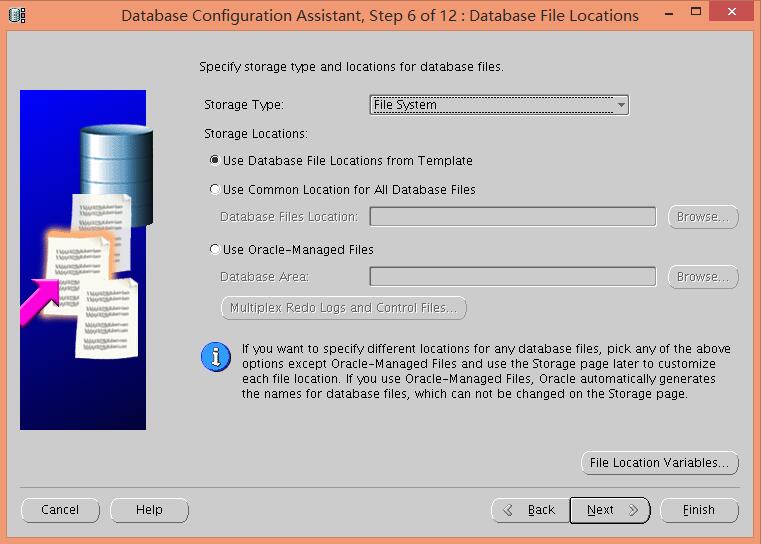
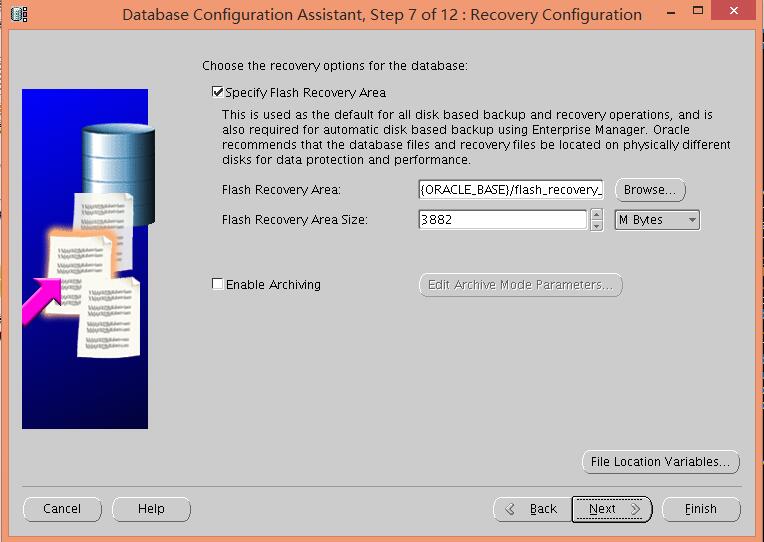
创建数据库实例,oracle用户下使用dbca工具创建
[oracle@hm ~]$ dbca
本文转自 HMLinux 51CTO博客,原文链接:http://blog.51cto.com/7424593/1862289
