h5混合开发有时需要调用本地的代码,就是js和原生代码交互。当然rn的封装和调用都很方便,现在用下cordova封装自定义插件plugin,cordova和phonegap的关系自行百度吧,当然cordova的安装此处也省略。
首先以 js 调用安卓的Toast为例,显示Toast提示,同时android studio中Log 一下。
具体怎么做,下面然后我们来一件一件的抽肢剖解
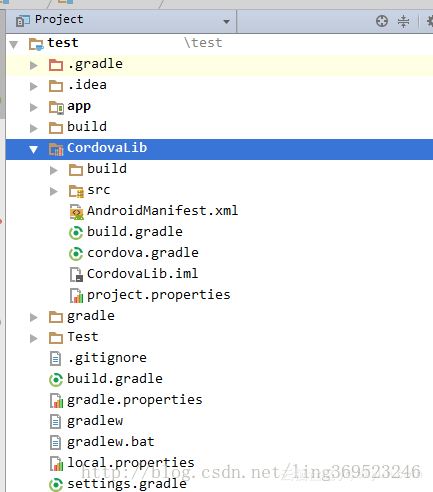
当然新建一个android 工程,比如这样

----------------------------------------------------------------------------------------------------------------------------------
----------------------------------------------------------------------------------------------------------------------------------
然后 导入CordovaLib 在建的工程里 在Cordova 新建的项目里有这个 复制出来导入到 android studio中就好了
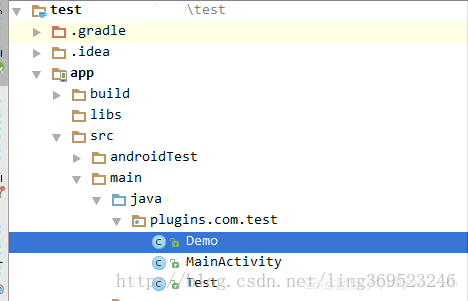
package plugins.com.test;

import android.util.Log;
import android.widget.Toast;

import org.apache.cordova.CallbackContext;
import org.apache.cordova.CordovaPlugin;
import org.json.JSONArray;
import org.json.JSONException;

/**
 * Created by Administrator on 2018/1/18.
 */

public class Demo extends CordovaPlugin{
    @Override
    public boolean execute(String action, JSONArray args, CallbackContext callbackContext) throws JSONException {
        if (action.equals("demoToast")) {
            String string = args.getString(0);
            this.demoToast(string, callbackContext);
            return  true;
        }
        return  false;
    }
    private void demoToast(String str, CallbackContext callbackContext) {
        Log.i("demo", "demo_demo");
        if (str != null || str.length() > 0) {
            Toast.makeText(cordova.getActivity(), str, Toast.LENGTH_LONG).show();
            callbackContext.success(str);
        } else {
            callbackContext.error("str 不能为空~~~!!");
        }
    }
}
写到这里需要用plugman 打包插件了 先安装plugman npm install plugman -g
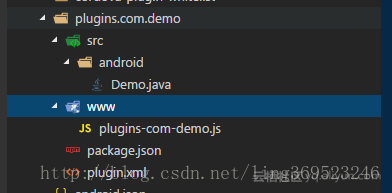
plugman create --name 插件名 --plugin_id 插件ID --plugin_version 插件版本号
如下图 三个步骤

把java代码复制到 src目录下 新建android 目录
var exec = require('cordova/exec');
module.exports = {
    demoToast: function (arg0, success, error) {
        exec(success, error, 'Demo', 'demoToast', [arg0]);
    }
}
plugin.xml 配置
<?xml version='1.0' encoding='utf-8'?>
<plugin id="plugins.com.demo" version="1.0.0" xmlns="http://apache.org/cordova/ns/plugins/1.0" xmlns:android="http://schemas.android.com/apk/res/android">
    <name>plugins-com-demo</name>
    <js-module name="demo" src="www/plugins-com-demo.js">
        <clobbers target="Demo" /><!--Demo 为 demo的类名 写错了 alert 提示err class not found -->
    </js-module>
    <platform name="android">
        <config-file target="res/xml/config.xml" parent="/*">
        <feature name="Demo">
            <param name="android-package" value="plugins.com.demo.Demo"/> <!--Demo  类的 完成路径   -->
        </feature>
        </config-file>

        <source-file src="src/android/Demo.java" target-dir="src/plugins/com/demo"/><!--Demo 在android工程里 src下的全路径   -->
    </platform>
</plugin>
插件就完成了,需要在cordova 新建的项目中加入此插件
新建一个 项目 步骤如下
cordova create test
进入test 目录
cd test
cordova platform add android
加入插件如下图
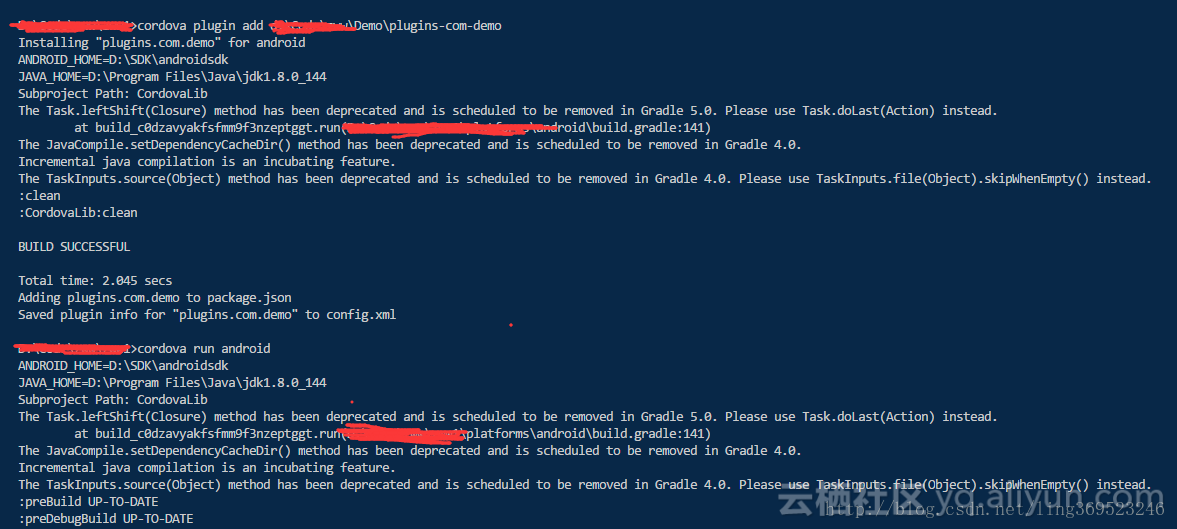
cordova plugin add c:\插件路径\plugins-com-demo
在新建的 test 项目下 www\js\index.js中加入如下代码
onDeviceReady: function() {
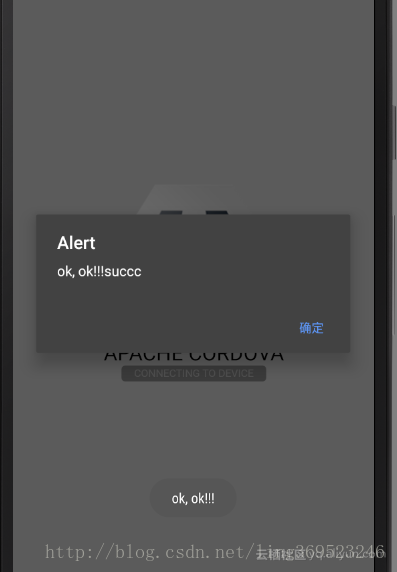
Demo.demoToast('ok, ok!!!', function(str) {
alert(str + 'succc')
}, function(err) {
alert(err)
});
this.receivedEvent('deviceready');
},同理设置点击
<h1 id="demo">click me click me</h1>onDeviceReady: function() {
this.receivedEvent('deviceready');
document.getElementById('demo').addEventListener('click', function(e) {
demo.demoToast('ok, ok!!!', function(str) {
alert(str + 'succc')
}, function(err) {
alert(err)
});
})
}, cordova run android
这样做不是目的,下面把视频播放用安卓代码播放
首先创建一个 activity_video.xml
<?xml version="1.0" encoding="utf-8"?>
<LinearLayout xmlns:android="http://schemas.android.com/apk/res/android"
    xmlns:tools="http://schemas.android.com/tools"
    android:orientation="vertical" android:layout_width="match_parent"
    android:layout_height="match_parent">

    <EditText
        android:id="@+id/editText"
        android:layout_width="match_parent"
        android:layout_height="wrap_content"
        android:ems="10"
        android:inputType="textPersonName"
        android:text="你好-new-activity" />
    <VideoView
        android:layout_width="match_parent"
        android:layout_height="200dp"
        android:id="@+id/videView"/>
</LinearLayout>
对应的VideoActivity.class
package plugins.com.demo;

import android.app.Activity;
import android.net.Uri;
import android.os.Bundle;
import android.widget.MediaController;
import android.widget.VideoView;


/**
 * Created by Administrator on 2018/1/22.
 */

public class VideoActivity extends Activity{
    @Override
    protected void onCreate(Bundle savedInstanceState) {
        super.onCreate(savedInstanceState);
        setContentView(R.layout.activity_new);
        VideoView videoView = (VideoView)findViewById(R.id.videView);
        MediaController mc = new MediaController(this);
        videoView.setVideoURI(Uri.parse("http://127.0.0.1:8888/Test/2017.mp4"));
        videoView.setMediaController(mc);
        videoView.start();
    }
}
MainActivity里唤起newActivity
<?xml version="1.0" encoding="utf-8"?>
<android.support.constraint.ConstraintLayout xmlns:android="http://schemas.android.com/apk/res/android"
    xmlns:app="http://schemas.android.com/apk/res-auto"
    xmlns:tools="http://schemas.android.com/tools"
    android:layout_width="match_parent"
    android:layout_height="match_parent"
    tools:context="plugins.com.demo.MainActivity">

    <TextView
        android:layout_width="wrap_content"
        android:layout_height="wrap_content"
        android:text="Hello World!"
        app:layout_constraintBottom_toBottomOf="parent"
        app:layout_constraintLeft_toLeftOf="parent"
        app:layout_constraintRight_toRightOf="parent"
        app:layout_constraintTop_toTopOf="parent"
        tools:layout_constraintTop_creator="1"
        tools:layout_constraintRight_creator="1"
        tools:layout_constraintBottom_creator="1"
        tools:layout_constraintLeft_creator="1"
        android:id="@+id/textView" />
    <Button
        android:layout_width="291dp"
        android:layout_height="49dp"
        android:text="newActive"
        android:layout_marginStart="27dp"
        app:layout_constraintBaseline_toBaselineOf="@+id/textView"
        tools:layout_constraintBaseline_creator="1"
        tools:layout_constraintLeft_creator="1"
        app:layout_constraintLeft_toLeftOf="parent"
        android:layout_marginLeft="36dp"
        android:id="@+id/btnNewActivity"/>
</android.support.constraint.ConstraintLayout>
记得加入网络读权限
同时加入js 可以调用的类VideoNewActivity.java
在安卓项目下完成组件的java代码,剩下的就是打包插件 同样的味道还是 plugman,
public class VideoNewActivity extends CordovaPlugin{
    @Override
    public boolean execute(String action, JSONArray args, CallbackContext callbackContext) throws JSONException {
        super.execute(action, args, callbackContext);
        if (action.equals("showVideo")) {
            Context ctx = cordova.getActivity().getApplicationContext();
            Intent viodeIntent = new Intent(ctx, VideoActivity.class);
            this.cordova.getActivity().startActivity(viodeIntent);
            return  true;
        }
        return  false;
    }
}
但是这样直接打包是不对的cordova不能直接识别findViewById, so改下android代码
public class VideoNewActivity extends CordovaPlugin{
    @Override
    public boolean execute(String action, JSONArray args, CallbackContext callbackContext) throws JSONException {
        super.execute(action, args, callbackContext);
        if (action.equals("showVideo")) {
            Context ctx = cordova.getActivity().getApplicationContext();
            Intent viodeIntent = new Intent(ctx, VideoActivity.class);
            this.cordova.getActivity().startActivity(viodeIntent);
            return  true;
        }
        return  false;
    }
}
public class VideoActivity extends Activity {
@Override
public void onCreate(Bundle savedInstanceState) {
super.onCreate(savedInstanceState);
String packageName = getApplication().getPackageName();
setContentView(getApplication().getResources().getIdentifier("activity_video", "layout", packageName));
int video = getApplication().getResources().getIdentifier("videView", "id", packageName);
VideoView videoView = (VideoView)findViewById(video);
MediaController mc = new MediaController(this);
videoView.setVideoURI(Uri.parse("http://127.0.0.1:8888/Test/2017.mp4"));
videoView.setMediaController(mc);
videoView.start();
}
}
index.js 代码
onDeviceReady: function() {
        this.receivedEvent('deviceready');
        document.getElementById('demo').addEventListener('click', function(e) {
            VideoNewActivity.playVideo('click', function(e) {
                alert(str + 'video-succc')
            }, function(err) {
                alert(err)
            });
        })
    },
plugins-com-video.js
var exec = require('cordova/exec');

module.exports = {
    playVideo: function (arg0, success, error) {
        exec(success, error, 'VideoNewActivity', 'showVideo', [arg0]);
    }
}
plugin.xml配置如下
<?xml version='1.0' encoding='utf-8'?>
<plugin id="plugins.com.VideoNewActivity" version="1.0.0" xmlns="http://apache.org/cordova/ns/plugins/1.0" xmlns:android="http://schemas.android.com/apk/res/android">
    <name>VideoNewActivity</name>
    <js-module name="VideoNewActivity" src="www/plugins-com-video.js">
        <clobbers target="VideoNewActivity" />
    </js-module>
    <platform name="android">
        <config-file target="res/xml/config.xml" parent="/*">
            <feature name="VideoNewActivity">
                <param name="android-package" value="plugins.com.demo.VideoNewActivity"/>
            </feature>
        </config-file>
        <source-file src="src/android/VideoNewActivity.java" target-dir="src/plugins/com/demo"/>

        <config-file target="AndroidManifest.xml" parent="/manifest/application">
            <!-- /manifest/application activity 才能写入 application 里  -->
            <uses-permission android:name="android.permission.INTERNET" />
            <activity android:label="VideoActivity" android:name="plugins.com.demo.VideoActivity"></activity>
        </config-file>

        <config-file parent="/*" target="AndroidManifest.xml"></config-file>

        <source-file src="src/android/VideoActivity.java" target-dir="src/plugins/com/demo"/>
        <source-file src="src/android/activity_video.xml" target-dir="res/layout"/>

    </platform>

</plugin>
注意activity引入的位置
来看个效果图吧···如下····

------------------------------------------------------------------------------
-------------------------------------------------------------------
------------------------也可以是样---------------------------------------------------------------
有不完善敬请更正··········