写项目的时候常常会遇到下面的情况:
1.须要生成測试版本号和正式版本号的apk
2.測试版本号和正式版本号的URL是不一样的
3.測试版本号和正式版本号的包名须要不一致,这样才干安装到同一部手机上面。
4.不同apk须要应用名不同,图标不同,某些常量不同....
假设你有以上的需求。看这篇文章就对了
When developing an app, you usually have many slightly different versions of this app. The most common example is probably the backend you want to use: production or staging.
当我们做开发的时候。常常会须要生成多个版本号的app。
最常见的就是測试版和正式版。
You usually define the base URLs with the other constants of the app. Switching from one environment to the other is done by (un)commenting the right lines:
我们经常须要在应用中定义一些常量,当应用正式公布的时候,经常是凝视掉測试用的部分,放开正式的部分,就像以下一样:
public static String BASE_URL = "http://staging.tamere.be"
//public static String BASE_URL = "http://production.tamere.be"
The process is manual, boring and error prone but hey, changing one line is not that bad, is it?
Then you add more and more features that depends on the environment. You maybe want a different icon and then different input validation rules and then ...
That's where your build tool can help. Let's see how we can automate the process of generating different APKs for different environment with Gradle.
上面的步骤是烦躁。无味的,改动一个地方还好。代码写多了以后正过来整过去就egg_pain了,这个时候我们Gragle就闪亮登场了
Build variants
Gradle has the concepts of Build Types and Build Flavors. When combining the two, you get a Build Variant.
There two default build types: release and debug. We won't change them in our example but we will create two new flavors: production and staging.
Gradle默认有release和debug两个版本号。
我们这里添加了production 和staging.两两组合就是以下4个版本号了。
As a result, we'll have four different variants:
- ProductionDebug
- ProductionRelease
- StagingDebug
- StagingRelease
Sample project 演示样例项目
The project is pretty simple but shows how you can define for each build variant:
- an app name
- an icon
- constants (in our case a
BASE_URLvariable)
You can download the project on Github.
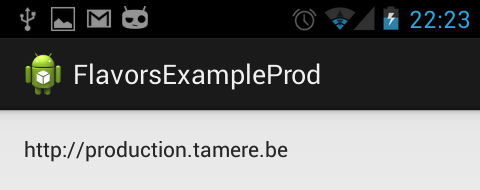
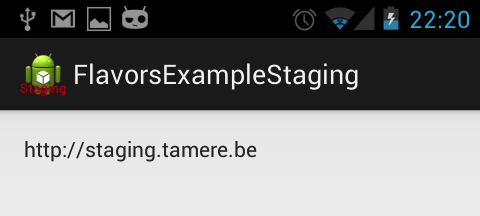
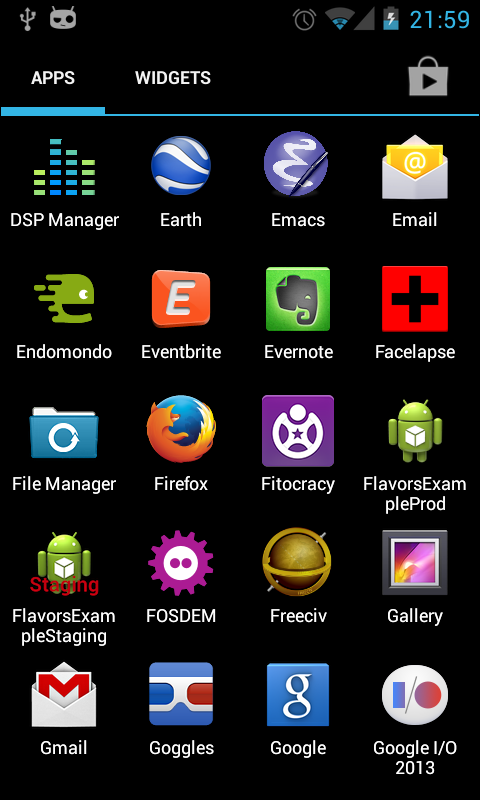
Here are two screenshots of the generated apps. Nothing really fancy:
演示样例项目非常easy。在不同的版本号中我们须要改动项目名称。项目图标,一些常量:url...,项目能够从Github 下载,效果图例如以下:
build.gradle file
buildscript {
    repositories {
        mavenCentral()
    }
    dependencies {
        classpath 'com.android.tools.build:gradle:0.5.+'
    }
}
apply plugin: 'android'

repositories {
    mavenCentral()
}

android {
    compileSdkVersion 18
    buildToolsVersion "18.0.1"

    defaultConfig {
        minSdkVersion 15
        targetSdkVersion 18
    }

    productFlavors {
        production {
            packageName "be.tamere.gradlebuildtypesexample"
        }

        staging {
            packageName "be.tamere.gradlebuildtypesexample.staging"
        }
    }
}

dependencies {
    compile 'com.android.support:appcompat-v7:18.0.0'
}
The definition of the flavors is super simple, all the magic will happen in their folders.
改动非常easy:核心配置是productFlavors,同一时候须要注意production和staging。它们须要与后面的文件夹结构名字一致
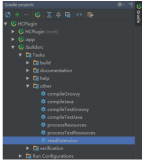
File structure 改动后的文件结构
In the src folder, we've created two directories whose names must match the flavors. We will define all the flavor-specific values. Only specific values are necessary.
改动也比較简单,在src以下(main同级的文件夹)新建和上面productFlavors中配置production和staging同样的文件夹,分别放入相应的Constants.java。这两个文件夹的属性和功能与系统默认创建的main是一样的。
总结一下就是:
1.production和staging两个文件夹,相应着各存放一份Constants.java
2.对于应用图标和应用名字信息配置在res文件夹以下的。这个地方针对staging又一次配置了一份ic_launcher.png和string.xml。production没配置的话就是用默认main以下的res。
这个比較easy理解哈。
The staging version defines new icons while both flavors defines a Constants.java. The app name is defined in the string.xml files.
├── main
│   ├── AndroidManifest.xml
│   ├── ic_launcher-web.png
│   ├── java
│   │   └── be
│   │       └── tamere
│   │           └── gradlebuildtypesexample
│   │               └── MainActivity.java
│   └── res
│       ├── drawable-hdpi
│       │   └── ic_launcher.png
│       ├── drawable-mdpi
│       │   └── ic_launcher.png
│       ├── drawable-xhdpi
│       │   └── ic_launcher.png
│       ├── drawable-xxhdpi
│       │   └── ic_launcher.png
│       ├── layout
│       │   └── activity_main.xml
│       ├── menu
│       │   └── main.xml
│       ├── values
│       │   ├── dimens.xml
│       │   ├── strings.xml
│       │   └── styles.xml
│       ├── values-v11
│       │   └── styles.xml
│       └── values-v14
│           └── styles.xml
├── production
│   └── java
│       └── be
│           └── tamere
│               └── gradlebuildtypesexample
│                   └── Constants.java
└── staging
    ├── java
    │   └── be
    │       └── tamere
    │           └── gradlebuildtypesexample
    │               └── Constants.java
    └── res
        ├── drawable-hdpi
        │   └── ic_launcher.png
        ├── drawable-mdpi
        │   └── ic_launcher.png
        ├── drawable-xhdpi
        │   └── ic_launcher.png
        ├── drawable-xxhdpi
        │   └── ic_launcher.png
        └── values
            └── string.xml
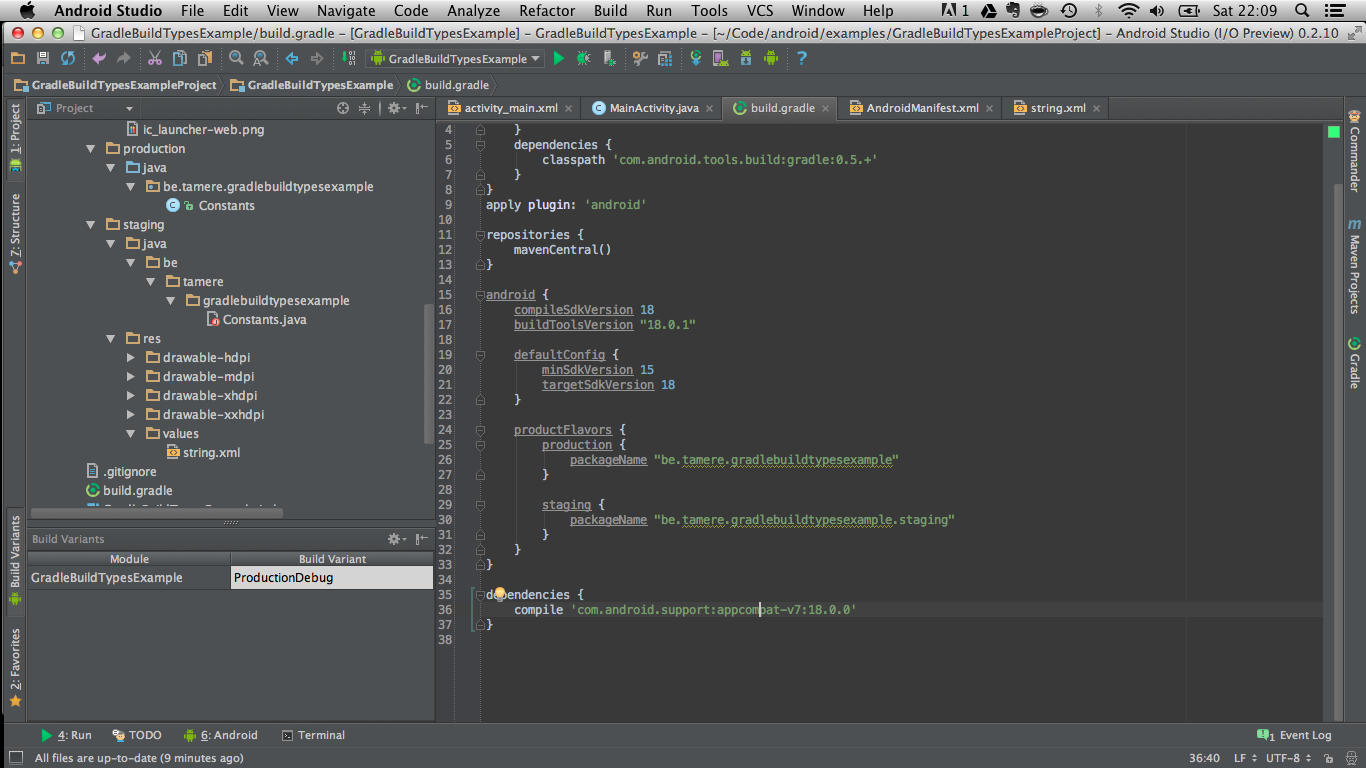
Android Studio
You can switch between the two flavors in the Build variants tab of the IDE. Android Studio has some trouble identifying the resources for a non-active flavors.
We are using the production flavor, Studio does not understand that the staging folder contains source code. Don't worry, it's normal, it will catch up when you switch to the staging variant.
Launch the app with the different flavors to see the result.
The app drawer shows the two icons:
References
- http://tools.android.com/tech-docs/new-build-system/user-guide#TOC-Product-flavors
- Xav's answer on this Stack overflow topic is particularly helpful.