zabbix(音同 zæbix)是一个基于WEB界面的提供分布式系统监视以及网络监视功能的企业级的开源解决方案。
zabbix能监视各种网络参数,保证服务器系统的安全运营;并提供灵活的通知机制以让系统管理员快速定位/解决存在的各种问题。
zabbix由2部分构成,zabbix server与可选组件zabbix agent。
zabbix server可以通过SNMP,zabbix agent,ping,端口监视等方法提供对远程服务器/网络状态的监视,数据收集等功能,它可以运行在Linux,Solaris,HP-UX,AIX,Free BSD,Open BSD,OS X等平台上。
zabbix agent需要安装在被监视的目标服务器上,它主要完成对硬件信息或与操作系统有关的内存,CPU等信息的收集。zabbix agent可以运行在Linux,Solaris,HP-UX,AIX,Free BSD,Open BSD, OS X, Tru64/OSF1, Windows NT4.0, Windows (2000/2003/XP/Vista)等系统之上。
zabbix server可以单独监视远程服务器的服务状态;同时也可以与zabbix agent配合,可以轮询zabbix agent主动接收监视数据(agent方式),同时还可被动接收zabbix agent发送的数据(trapping方式)。另外zabbix server还支持SNMP (v1,v2),可以与SNMP软件(例如:net-snmp)等配合使用。
环境:
Zabbix-Server: Centos 6.8 IP:192.168.126.129
Zabbix-Agent: Centos 6.8 IP:192.168.126.136
1、查看系统
[root@localhost ~]# uname -a
Linux localhost 2.6.32-642.6.2.el6.x86_64
2、安装源码
[root@localhost ~]# rpm -ivh http://repo.zabbix.com/zabbix/2.4/rhel/6/x86_64/zabbix-release-2.4-1.el6.noarch.rpm
Retrieving http://repo.zabbix.com/zabbix/2.4/rhel/6/x86_64/zabbix-release-2.4-1.el6.noarch.rpm
warning: /var/tmp/rpm-tmp.abr6zK: Header V4 DSA/SHA1 Signature, key ID 79ea5ed4: NOKEY
Preparing...                ########################################### [100%]
   1:zabbix-release         ########################################### [100%]
3、安装组件
[root@localhost ~]# yum install zabbix-server-mysql zabbix-web-mysql zabbix-agent  mysql-server mysql -y
Loaded plugins: fastestmirror
Setting up Install Process
Repository base is listed more than once in the configuration
Repository updates is listed more than once in the configuration
Repository extras is listed more than once in the configuration
Repository epel is listed more than once in the configuration
Determining fastest mirrors
 * base: mirrors.cloud.aliyuncs.com
……………………………………………………………………………….
Installed:
  mysql.x86_64 0:5.1.73-8.el6_8                  mysql-server.x86_64 0:5.1.73-8.el6_8                  zabbix-agent.x86_64 0:2.4.8-1.el6                  zabbix-server-mysql.x86_64 0:2.4.8-1.el6                  zabbix-web-mysql.noarch 0:2.4.8-1.el6

Dependency Installed:
  OpenIPMI-libs.x86_64 0:2.0.16-14.el6              apr.x86_64 0:1.3.9-5.el6_2               apr-util.x86_64 0:1.3.9-3.el6_0.1       apr-util-ldap.x86_64 0:1.3.9-3.el6_0.1     dejavu-fonts-common.noarch 0:2.33-1.el6     dejavu-sans-fonts.noarch 0:2.33-1.el6
  fontpackages-filesystem.noarch 0:1.41-1.1.el6     fping.x86_64 0:2.4b2-16.el6              freetype.x86_64 0:2.3.11-17.el6         gnutls.x86_64 0:2.12.23-21.el6             httpd.x86_64 0:2.2.15-60.el6.centos.6       httpd-tools.x86_64 0:2.2.15-60.el6.centos.6
  iksemel.x86_64 0:1.4-2.el6                        libX11.x86_64 0:1.6.4-3.el6              libX11-common.noarch 0:1.6.4-3.el6      libXau.x86_64 0:1.0.6-4.el6                libXpm.x86_64 0:3.5.10-2.el6                libjpeg-turbo.x86_64 0:1.2.1-3.el6_5
  libpng.x86_64 2:1.2.49-2.el6_7                    libtool-ltdl.x86_64 0:2.2.6-15.5.el6     libxcb.x86_64 0:1.12-4.el6              libxslt.x86_64 0:1.1.26-2.el6_3.1          lm_sensors-libs.x86_64 0:3.1.1-17.el6       mailcap.noarch 0:2.1.31-2.el6
  net-snmp.x86_64 1:5.5-60.el6                      net-snmp-libs.x86_64 1:5.5-60.el6        perl-DBD-MySQL.x86_64 0:4.013-3.el6     perl-DBI.x86_64 0:1.609-4.el6              php.x86_64 0:5.3.3-49.el6                   php-bcmath.x86_64 0:5.3.3-49.el6
  php-cli.x86_64 0:5.3.3-49.el6                     php-common.x86_64 0:5.3.3-49.el6         php-gd.x86_64 0:5.3.3-49.el6            php-mbstring.x86_64 0:5.3.3-49.el6         php-mysql.x86_64 0:5.3.3-49.el6             php-pdo.x86_64 0:5.3.3-49.el6
  php-xml.x86_64 0:5.3.3-49.el6                     unixODBC.x86_64 0:2.2.14-14.el6          zabbix.x86_64 0:2.4.8-1.el6             zabbix-server.x86_64 0:2.4.8-1.el6         zabbix-web.noarch 0:2.4.8-1.el6

Dependency Updated:
  mysql-libs.x86_64 0:5.1.73-8.el6_8

Complete!
4、启动Mysql服务
[root@localhost ~]# service mysqld start
Initializing MySQL database:  WARNING: The host 'localhost' could not be looked up with resolveip.
.................................................
Please report any problems with the /usr/bin/mysqlbug script!

                                                           [  OK  ]
Starting mysqld:                                           [  OK  ]
5、Mysql设置
[root@localhost ~]# chkconfig mysqld on
[root@localhost ~]# mysql_secure_installation
#根据提示进行操作
主要内容如下
Set root password? [Y/n] //设置root密码(最好自己设置密码,选Y)
anonymous users? [Y/n] //删除匿名用户(选Y)
Disallow root login remotely? [Y/n] //禁止root用户远程登录(选n)
Remove test database and access to it? [Y/n] //删除默认的 test 数据库(选Y)
Reload privilege tables now? [Y/n] //是否马上应用最新的设置(选Y)
6、Zabbix数据库设置
[root@localhost /]# mysql -u root -p
Enter password:     #输入刚刚设置的密码
Welcome to the MySQL monitor.  Commands end with ; or \g.
Your MySQL connection id is 1143
Server version: 5.1.73 Source distribution

Copyright (c) 2000, 2013, Oracle and/or its affiliates. All rights reserved.

Oracle is a registered trademark of Oracle Corporation and/or its
affiliates. Other names may be trademarks of their respective
owners.

Type 'help;' or '\h' for help. Type '\c' to clear the current input statement.

mysql>  create database zabbix character set utf8;
Query OK, 1 row affected (0.00 sec)

mysql> grant all privileges on zabbix.* to zabbix@localhost identified by 'zabbix';
Query OK, 0 rows affected (0.00 sec)

mysql> flush privileges;
Query OK, 0 rows affected (0.00 sec)

mysql> exit
Bye
7、导入数据库
[root@localhost /]# cd /usr/share/doc/zabbix-server-mysql-2.4.8/create/
[root@localhost create]# ls
data.sql  images.sql  schema.sql
[root@localhost create]# mysql -u root -p zabbix < schema.sql
Enter password:   #输入数据库root密码
[root@localhost create]# mysql -u root -p zabbix < images.sql
Enter password:   #输入数据库root密码
[root@localhost create]# mysql -u root -p zabbix < data.sql
Enter password:   #输入数据库root密码

#如果出错,注意导入顺序
8、修改Zabbix配置文件
[root@localhost /]# vim /etc/zabbix/zabbix_server.conf
#注意一下配置文件中是否和以下内容相似,如不相似请参照如下进行修改
DBHost=localhost
DBName=zabbix
DBUser=zabbix
DBPassword=zabbix
9、PHP配置文件修改
[root@localhost ~]# cp /etc/php.ini /etc/php.ini.bak
[root@localhost ~]# sed -i 's/^.*date.timezone =.*$/date.timezone = Asia\/Shanghai/g' /etc/php.ini
[root@localhost ~]# sed -i 's/^.*post_max_size =.*$/post_max_size = 16M/g' /etc/php.ini
[root@localhost ~]# sed -i 's/^.*max_execution_time =.*$/max_execution_time = 300/g' /etc/php.ini
[root@localhost ~]# sed -i 's/^.*max_input_time =.*$/max_input_time = 300/g' /etc/php.ini
10、启动服务
[root@localhost ~]# service zabbix-server start
Starting Zabbix server:                                    [  OK  ]
[root@localhost ~]# service zabbix-agent start
Starting Zabbix agent:                                     [  OK  ]
[root@localhost ~]# service httpd restart
Stopping httpd:                                            [  OK  ]
11、添加开机启动
[root@localhost ~]# chkconfig mysqld on
[root@localhost ~]# chkconfig zabbix-server on
[root@localhost ~]# chkconfig zabbix-agent on
[root@localhost ~]# chkconfig httpd on
12、访问zabbix http://192.168.126.129/zabbix
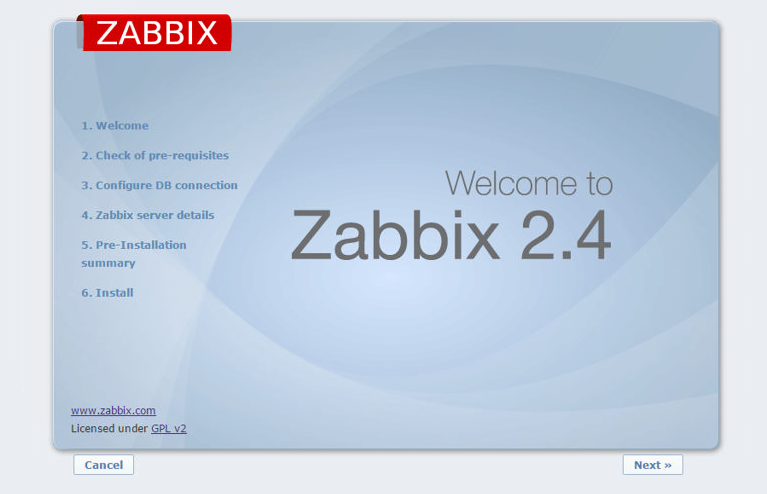
Next-下一步
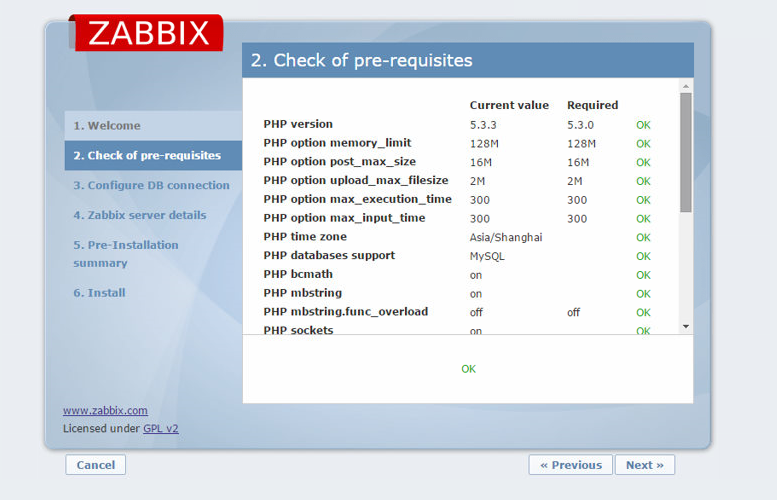
Next-下一步
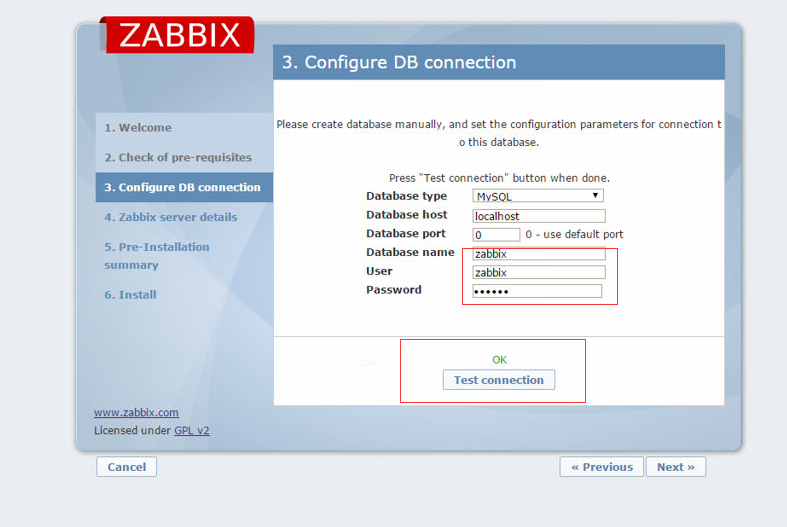
注意User、Password,输入完成之后点击 Test connection看状态是否Ok,Next-下一步
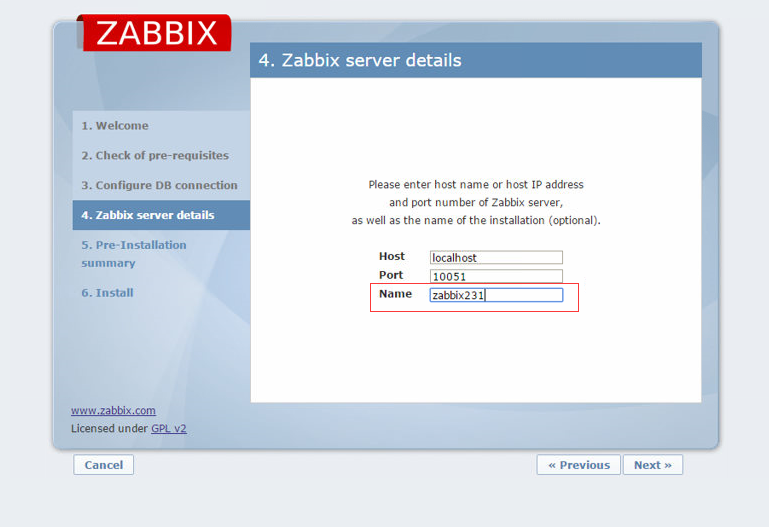
Name名字可以写成:zabbix129(后跟IP地址的尾部),没有限制,Next-下一步
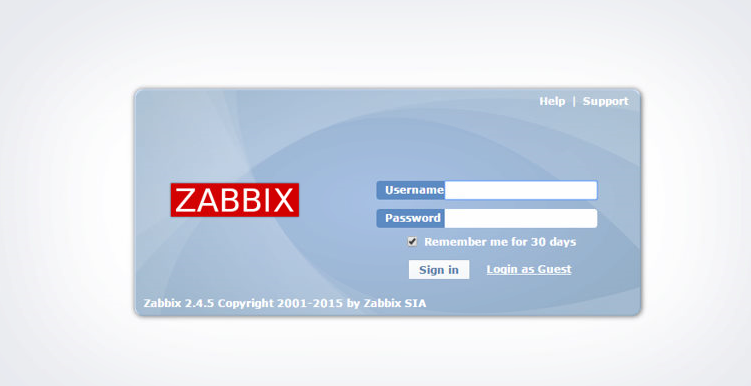
登录zabbix(Admin/zabbix 注意Admin第一个字母大写)
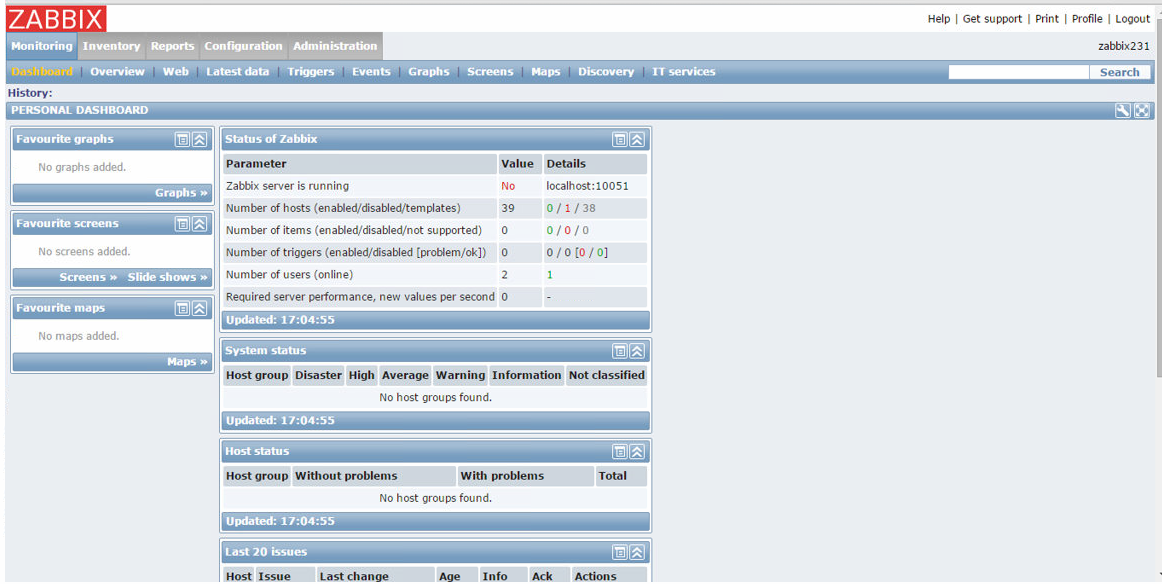
登陆成功,搭建完成!
如需配置Zabbix-Agent客户端,可以参考:Zabbix-Agent客户端配置
