This tutorial will teach you the basics of building an ASP.NET Core MVC web app using Visual Studio 2015.
在这个范例里,我们将使用Visual Studio 2015创建基本的Asp.Net Core MVC网站。
安装Visual Studio和.Net Core
-
Install Visual Studio Community 2015. Select the Community download and the default installation. Skip this step if you have Visual Studio 2015 installed.
-
安装Visual Studio Community 2015。下载Community后默认安装,如果你已经安装可以跳过这步。
- Visual Studio 2015 Home page installer(Visual Studio 2015安装页)
创建一个Web应用
From the Visual Studio Start page, tap New Project.
在Visual Studio 起始页面,点击New Project

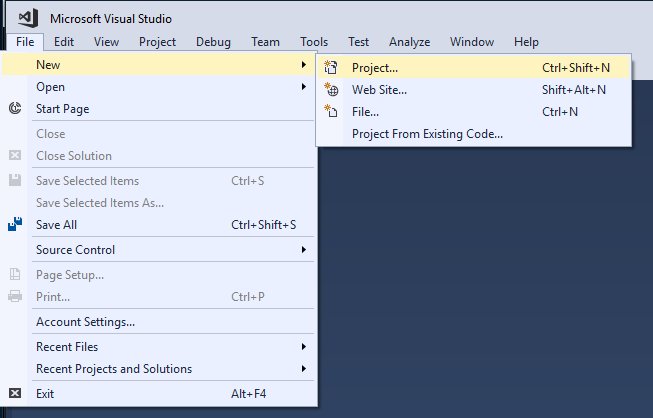
Alternatively, you can use the menus to create a new project. Tap File > New > Project.
你也可以通过菜单创建新项目。点击File > New Project
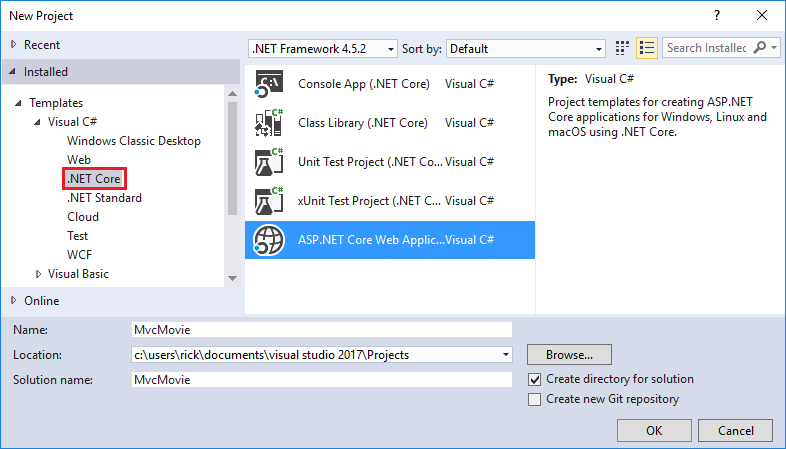
Complete the New Project dialog:
在New Project对话框完成以下操作:
- In the left pane, tap .NET Core
- 在左侧面板,选择.Net Core
- In the center pane, tap ASP.NET Core Web Application (.NET Core)
- 在中间面板,选择Asp.Net Core web Application(.Net Core)
- Name the project "MvcMovie" (It's important to name the project "MvcMovie" so when you copy code, the namespace will match.)
- 项目取名:MvcMove(当你复制代码时,这个项目名称很重要,它跟命名空间相匹配)
- Tap OK
- 点击OK
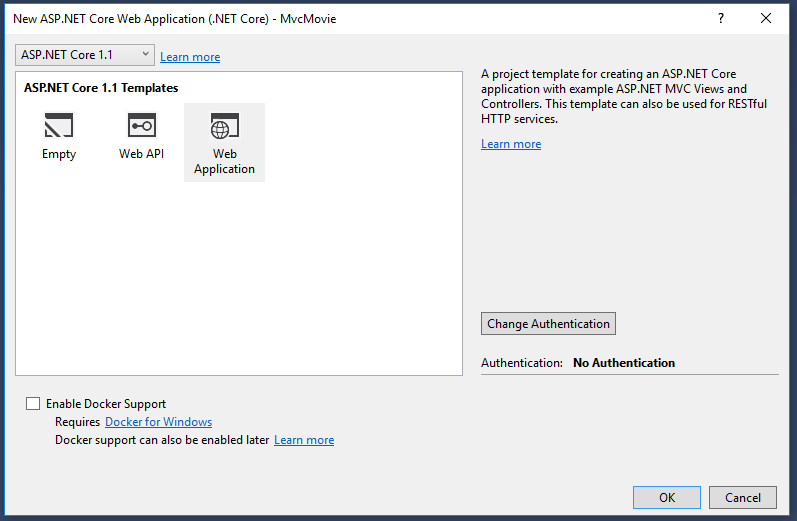
Complete the New ASP.NET Core Web Application - MvcMovie dialog:
在New Asp.Net Core Web Application –MvcMovie对话框完成以下操作:
- Tap Web Application
- 点击Web Application
- Clear Host in the cloud
- 不勾选Host in the cloud
- Tap OK.
- 点击OK
Visual Studio used a default template for the MVC project you just created, so you have a working app right now by entering a project name and selecting a few options. This is a simple "Hello World!" project, and it's a good place to start,Tap F5 to run the app in debug mode or Ctrl-F5 in non-debug mode.
Visual Studio会根据默认模板创建MVC项目,你只要输入一个项目名和选择几个选项就能创建。这是一个Hello World的项目,一个好的开始!点击F5debug模式应用或者Ctrl+F5非Debug模式运行。
- Visual Studio starts IIS Express and runs your app. Notice that the address bar shows
localhost:port#and not something likeexample.com. That's becauselocalhostalways points to your own local computer, which in this case is running the app you just created. When Visual Studio creates a web project, a random port is used for the web server. In the image above, the port number is 1234. When you run the app, you'll see a different port number. - Visual Studio将开启IIS Express运行你的应用。注意浏览器地址栏显示的是localhost:端口号而不是example.com,这是因为这种情况下运行刚创建的应用,localhost总是指向自己的电脑。当Visual Studio创建了一个web项目后,它将为web服务器随机一个端口号。以下图片上,显示的是1234端口,当你自己运行的时候,你看到的将是一个不同的端口号。
- Launching the app with Ctrl+F5 (non-debug mode) allows you to make code changes, save the file, refresh the browser, and see the code changes. Many developers prefer to use non-debug mode to quickly launch the app and view changes.
- 使用Ctrl+F5(非Debug模式)运行应用,允许你在更改代码,保存文件后,使用刷新页面就能看到你的改变。许多开发者都喜欢用non-debug模式快速运行应用和查看更改。
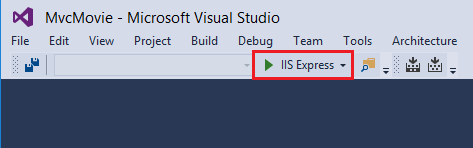
- You can launch the app in debug or non-debug mode from the Debug menu item:
- 你可以通过Debug菜单运行Debug和non-debug模式:

- You can debug the app by tapping the IIS Express button
- 你也可以点击IIS Express按钮运行Debug模式
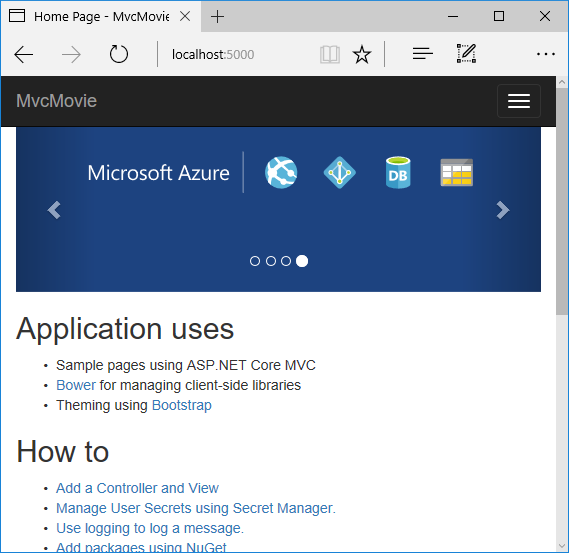
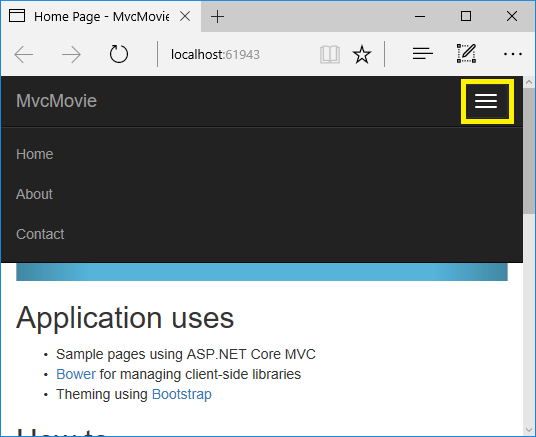
The default template gives you working Home, About and Contact links. The browser image above doesn't show these links. Depending on the size of your browser, you might need to click the navigation icon to show them.
默认模板有HOME,About和Contact三个链接。下图因为浏览器问题你看不到这几个链接,你可以通过点击导航图标显示。
If you were running in debug mode, tap Shift-F5 to stop debugging.
如果你运行在Debug模式下,Shift+F5停止Debug。
In the next part of this tutorial, we'll learn about MVC and start writing some code.
在这个范例的下一章节,我们将如何编写MVC代码。
原文链接
https://docs.microsoft.com/zh-cn/aspnet/core/tutorials/first-mvc-app/start-mvc
